DIY: iphone Case
by
I have been searching for the perfect iphone case for months now. After so many months of searching, I decided that if I couldn’t find what I wanted, why not just make it! Makes sense right?
Surprisingly, I got most of my inspiration for creating this iphone case from Instagram (oooh how I loooovveee Instagram)! I was so excited when I finally decided on the look I wanted to achieve. Now, I will say that the process of making your own case is time consuming and tedious. It took me hours to complete, but I absolutely love the results. I counldn’t be happier with the finished product!

I purchased a plastic iphone case from Target. This particular one happened to be on sale for about $13. I am sure if you search hard enough you will be able to find one for an even cheaper price. All the rhinestones and other goodies came from the scrapbooking section at Michael’s. I suggest using craft glue that is acid free. Also, grab a pair of tweezers. This will make it much easier to pick up and place the rhinestones in the desired location.
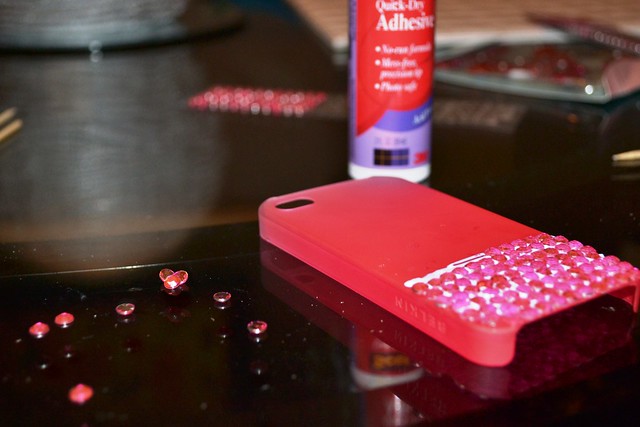
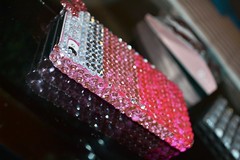
I began by laying my rhinestones out on the table and squeezing a straight line of glue onto the case. One by one I placed the rhinestones next to one another.

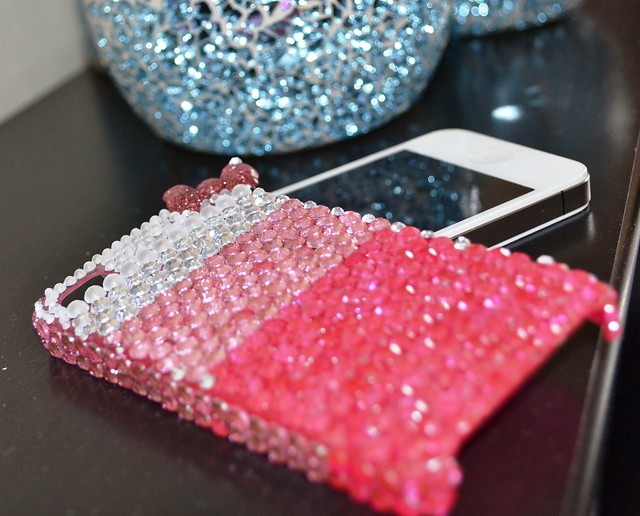
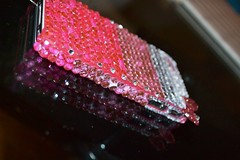
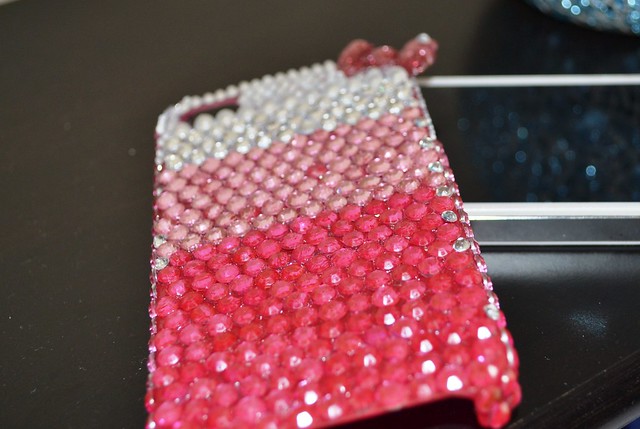
A little more that half way up the case I change to color of the rhinestones to a lighter pink.
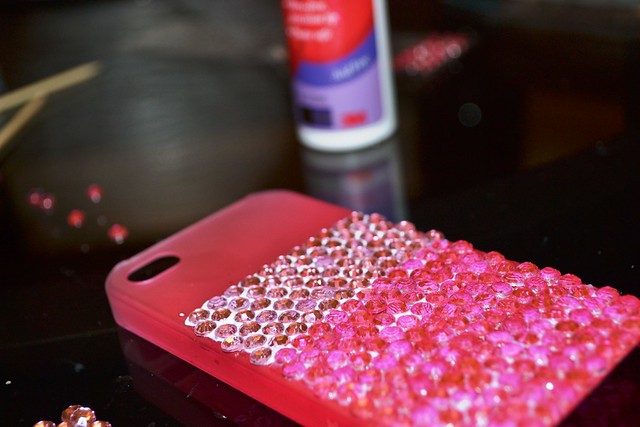
As I got closer to the top, I faded the rhinestones to clear…
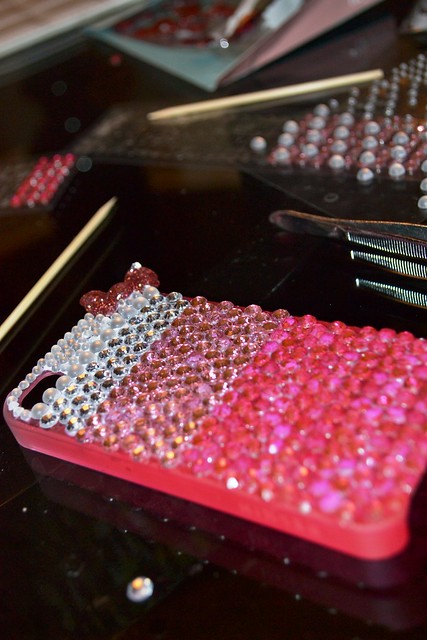
I also added a small bow charm to the top right corner.
I line the sides with rhinestones as well using smaller ones in the more narrow places.
Now your case is complete. Allow to dry for an hour or two and your case will be ready to use!!
Don’t forget be creative with your case and most of all have fun!!
Hugs & Chicness
Keelia
-
Amanda
-
Ashley
-
Franzi
THE WRITERS
If you didn’t already know we loooovvveeee fashion and beauty!
FOLLOW US
SIGN UP
Featured Posts

New Year, Same Closet
Welcome to 2019! For us, this year is all about repurposing our closets. We are trying to save some coins this year. Instead of shopping for every occassion and event …
Adidas x Pharrell Funnel Neck Dress
Happy New Year! I’m pretty stoked about 2018. I have set a few new fashion goals for myself and I’m excited to see them all come to fruition. My …
Big Shirt + Big Jewels
Against my better judegment, I took myself to the mall two weekends ago. I told myself I would only buy a few things and tried to cap my budget (let’s …