DIY: Photo Booth
by


As I mentioned before in our latest Weekend Review we hosted an event called Beauty and The Chic this past weekend. We decided to we wanted to have a photo booth, but we did not want to spend the money and hire someone, so WE MADE OUR OWN!!!
This is a great idea and saves tons of money! With 3 easy steps you can create your own photo booth as well!
STEP 1: Set-up

Gather all your materials: camera, tripod, white (or color of your choice) flat sheet, and a stand alone clothing rack.
STEP 2:Design
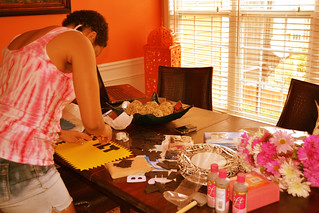
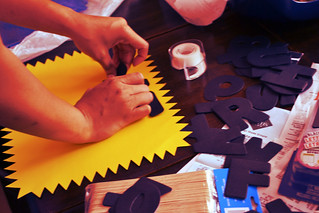
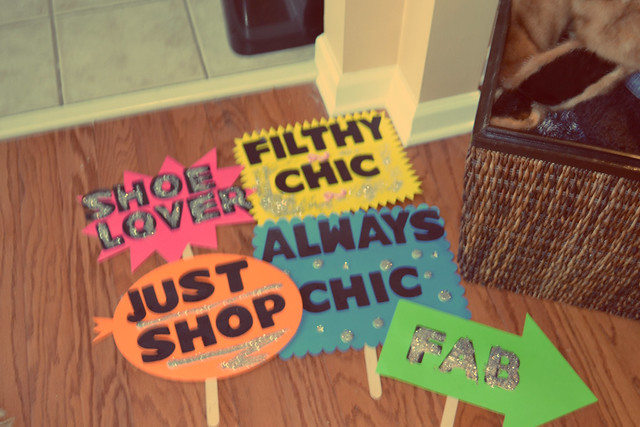
Make your signs! Get creative and use lots of colors, glitter and decorative stick-ons! We purchased pre-cut poster board and letters from Michael’s.
STEP 3:Photos


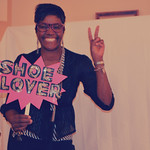


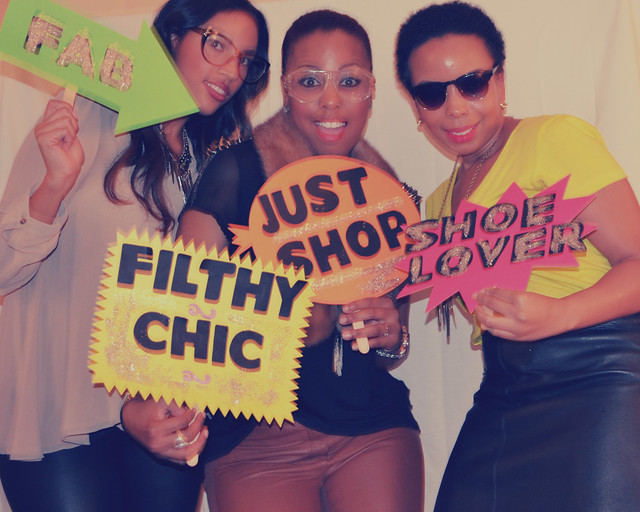
Just add props and you are ready to snap away and take all the photos you want!
Warning: make sure you purchase a clothing rack with adjustable heights (at least 6″). We had a minor issue with ours…it was a little to short (shrugs)!
All in all our DIY photo booth was a huge hit and we had lots of fun with it!!
Hugs & Chicness
Keelia, Tamra and Amanda
THE WRITERS
If you didn’t already know we loooovvveeee fashion and beauty!
FOLLOW US
SIGN UP
Featured Posts

New Year, Same Closet
Welcome to 2019! For us, this year is all about repurposing our closets. We are trying to save some coins this year. Instead of shopping for every occassion and event …
Adidas x Pharrell Funnel Neck Dress
Happy New Year! I’m pretty stoked about 2018. I have set a few new fashion goals for myself and I’m excited to see them all come to fruition. My …
Big Shirt + Big Jewels
Against my better judegment, I took myself to the mall two weekends ago. I told myself I would only buy a few things and tried to cap my budget (let’s …